How To Use A Scale To Make Delicious Coffee - Canyon Coffee

$4 Flat Rate Shipping On All Orders

0

Shopping Cart

Your Cart is Empty


How To Use A Scale To Make Delicious Coffee

Photos: Justin Chung

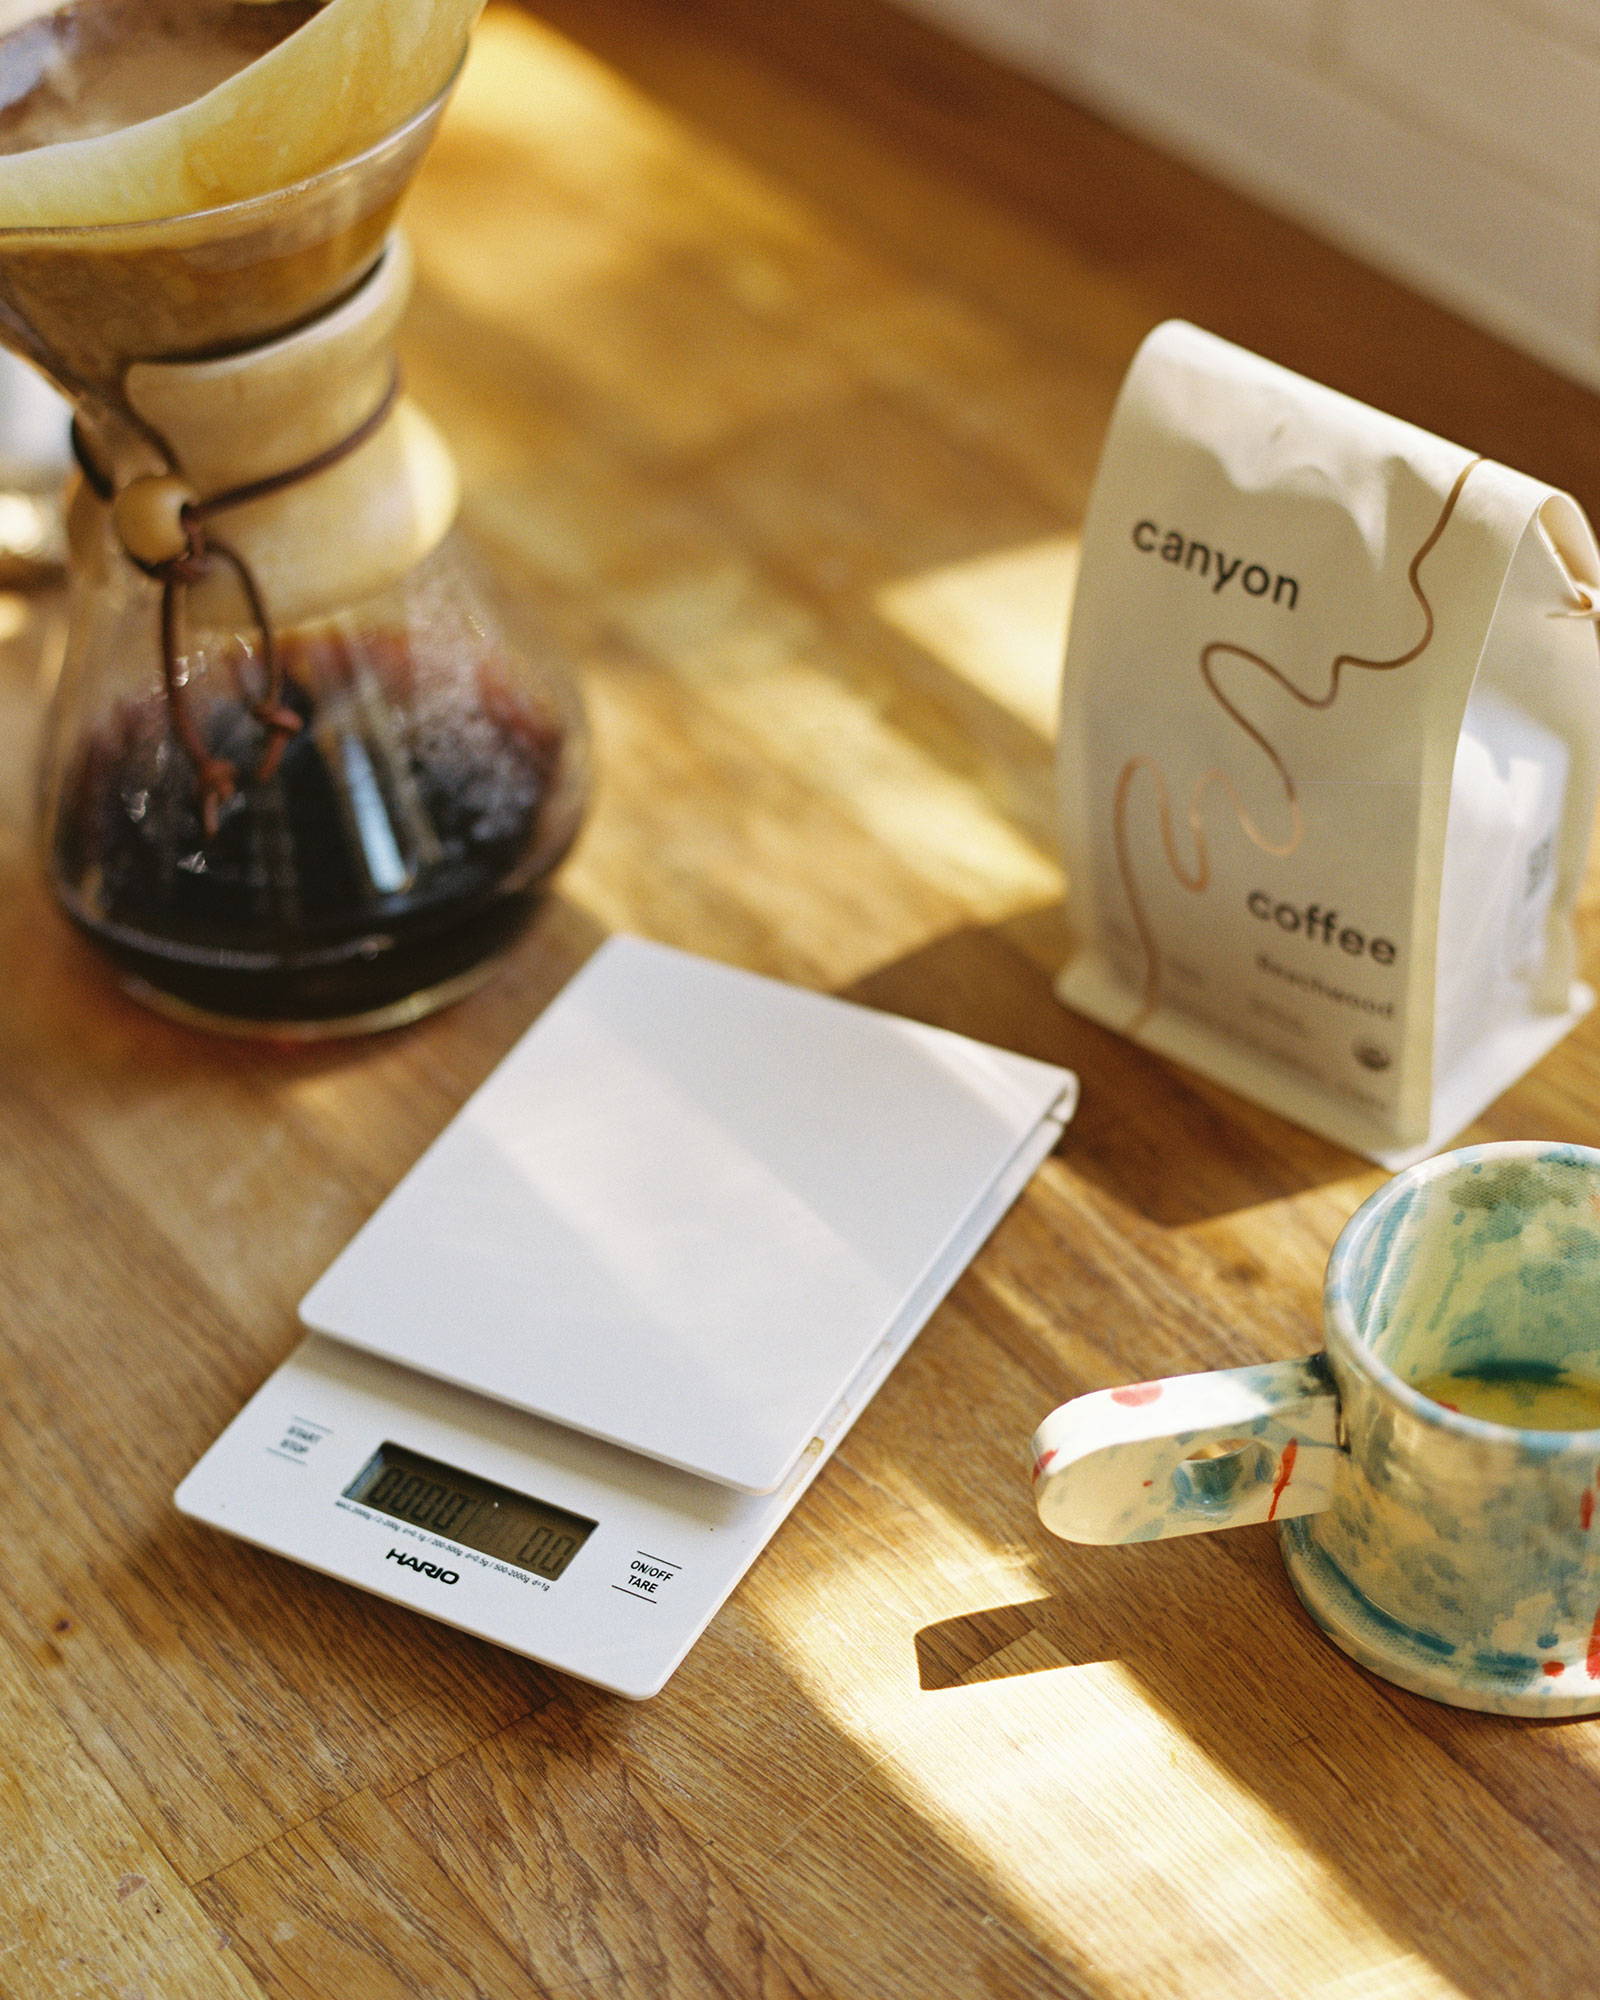
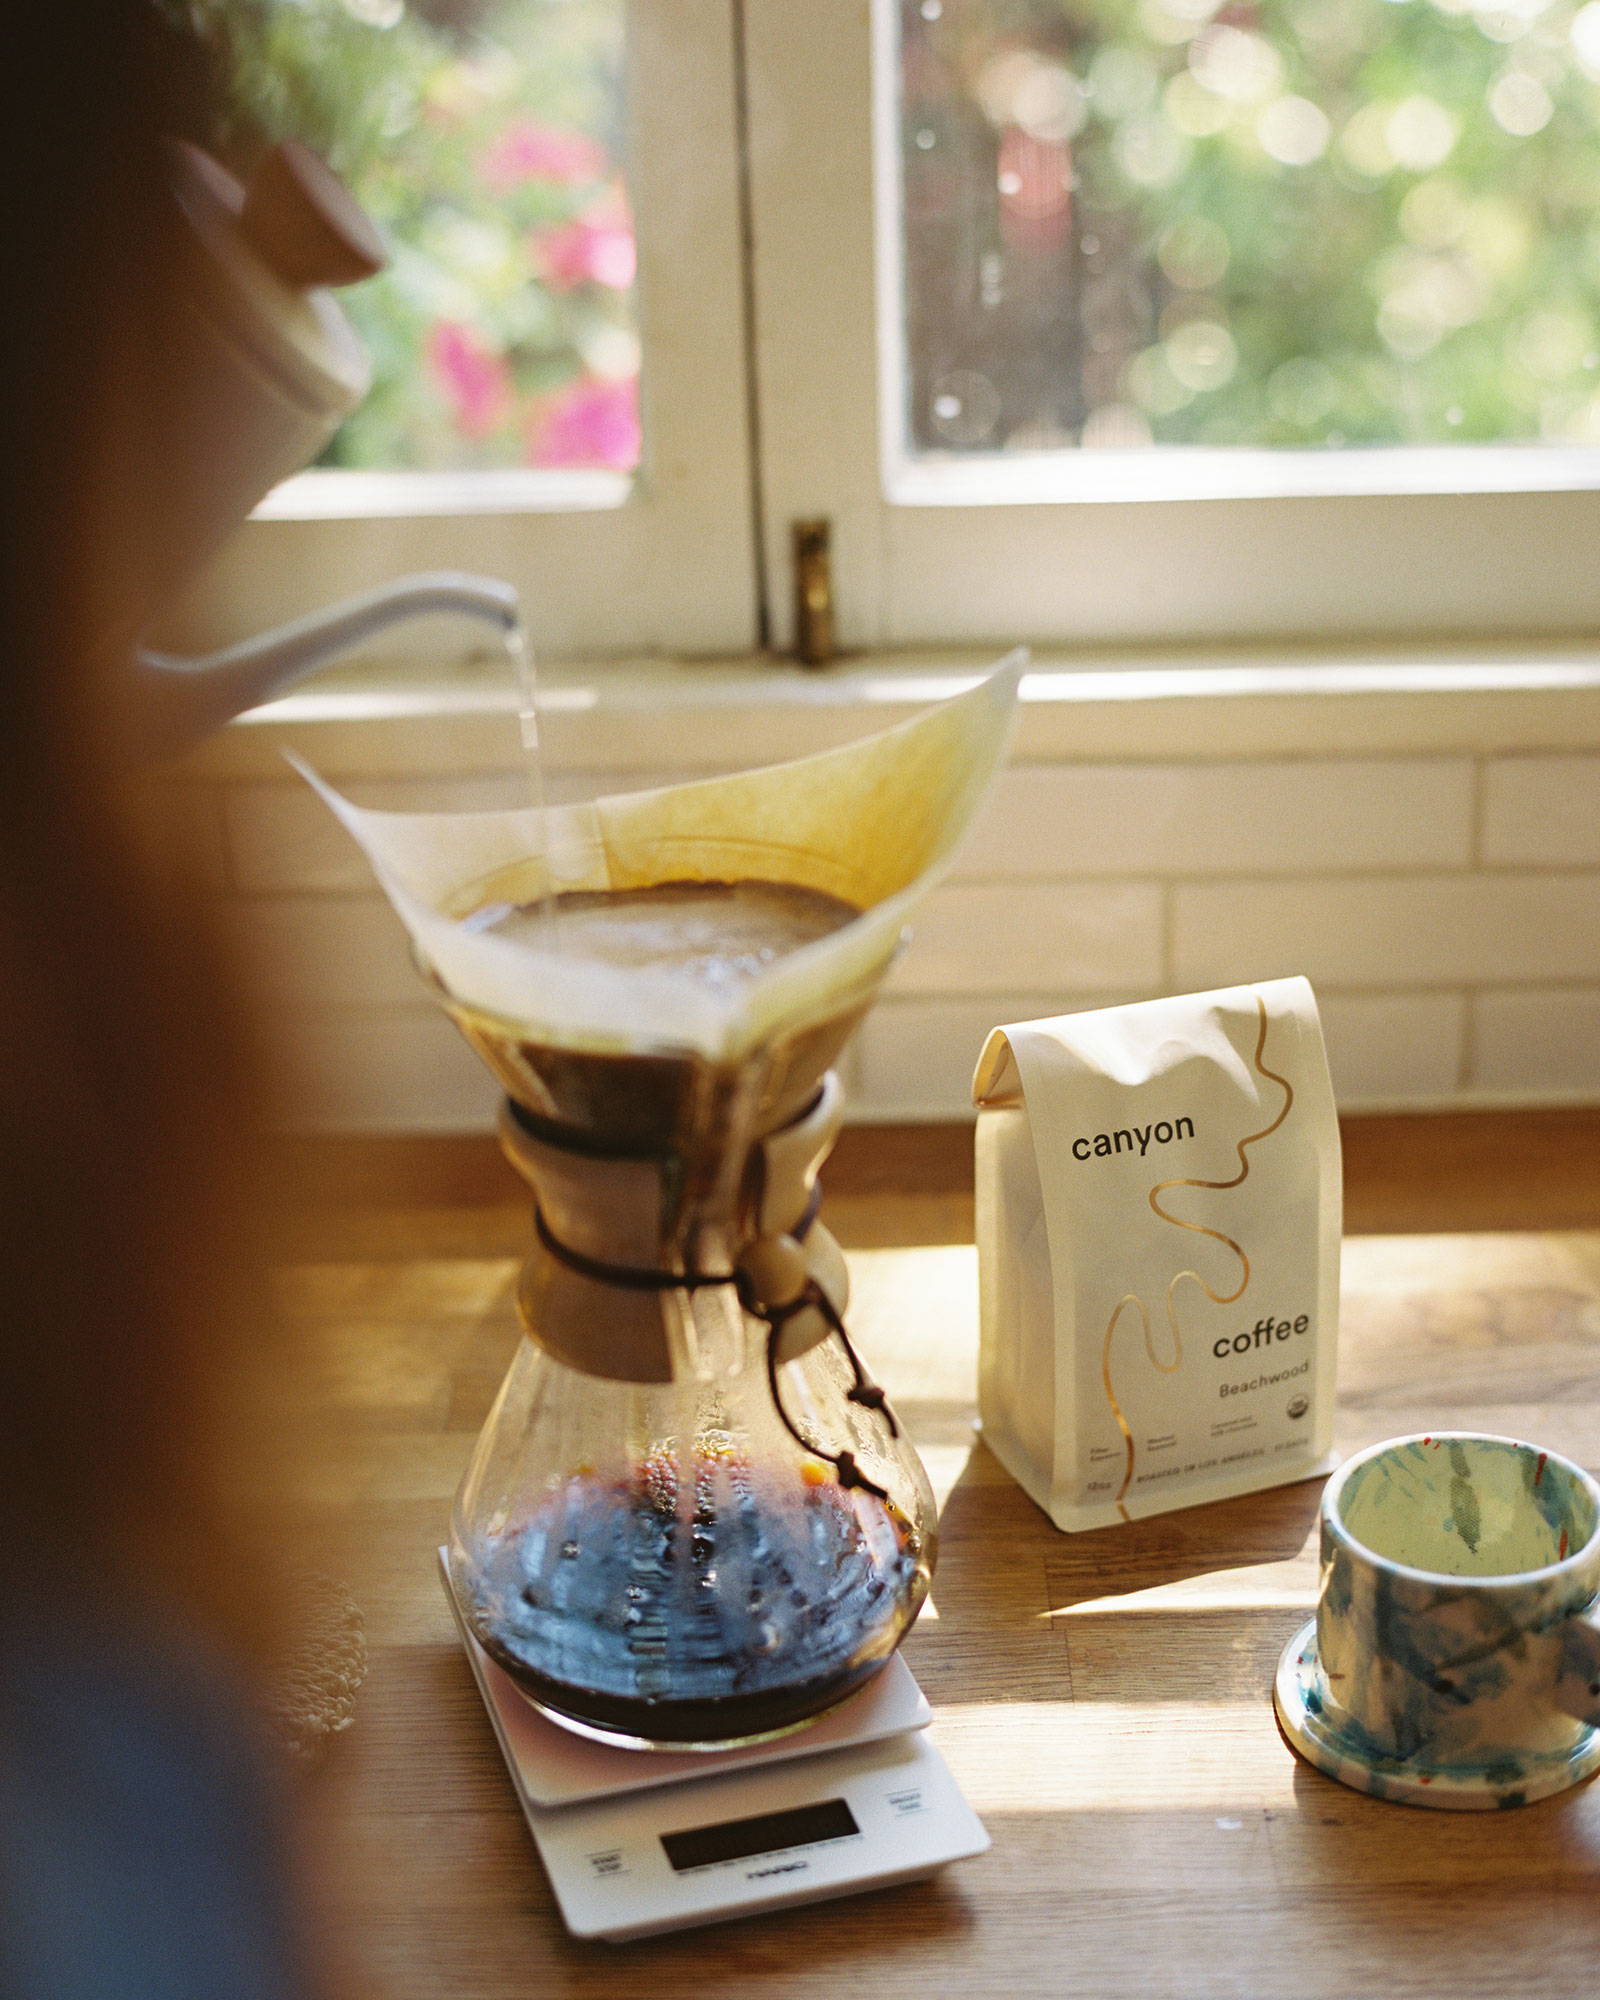
Okay, disclaimer: we're not the kind of people who say "You MUST have a scale to make good coffee!" In truth, we're strong advocates of the just-eye-ball-it approach—especially when you're just starting to make better coffee at home. We think it nurture a hands-on sensibility of how to make great coffee.

(For the record, our eye-ball-it approach involves using ONE SCOOP and A SERVER WITH LEVEL INDICATORS to help keep coffee and water levels roughly consistent.) 

However, there inevitably comes a time when coffee lovers want to bring their at-home coffee to the next level. You've got a burr grinder, you've perfected your pour over, and now you want to hit the perfect coffee ratio. 

Well, first you need a scale. We've used lots of them. Our favorite is the Hario drip scale, and YOU CAN PICK ONE UP FROM US HERE. 

Second, you need to know how to use the scale! 

The basic function of every scale is the "Tare." The definition of tare is "An allowance made for the weight of [an object] to determine the net weight of goods." 

In other words, if a coffee cup weighs 200 grams, putting it on a scale and "taring" it will make an "allowance" of 200 grams. This then renders the scale at zero, enabling you to weigh the contents you then put in a cup.

The tare function is the simple key to weighing out anything. If you need to weigh out 40 grams of coffee beans, put a cup on your scale, tare it to zero, then pour in what you want to measure!

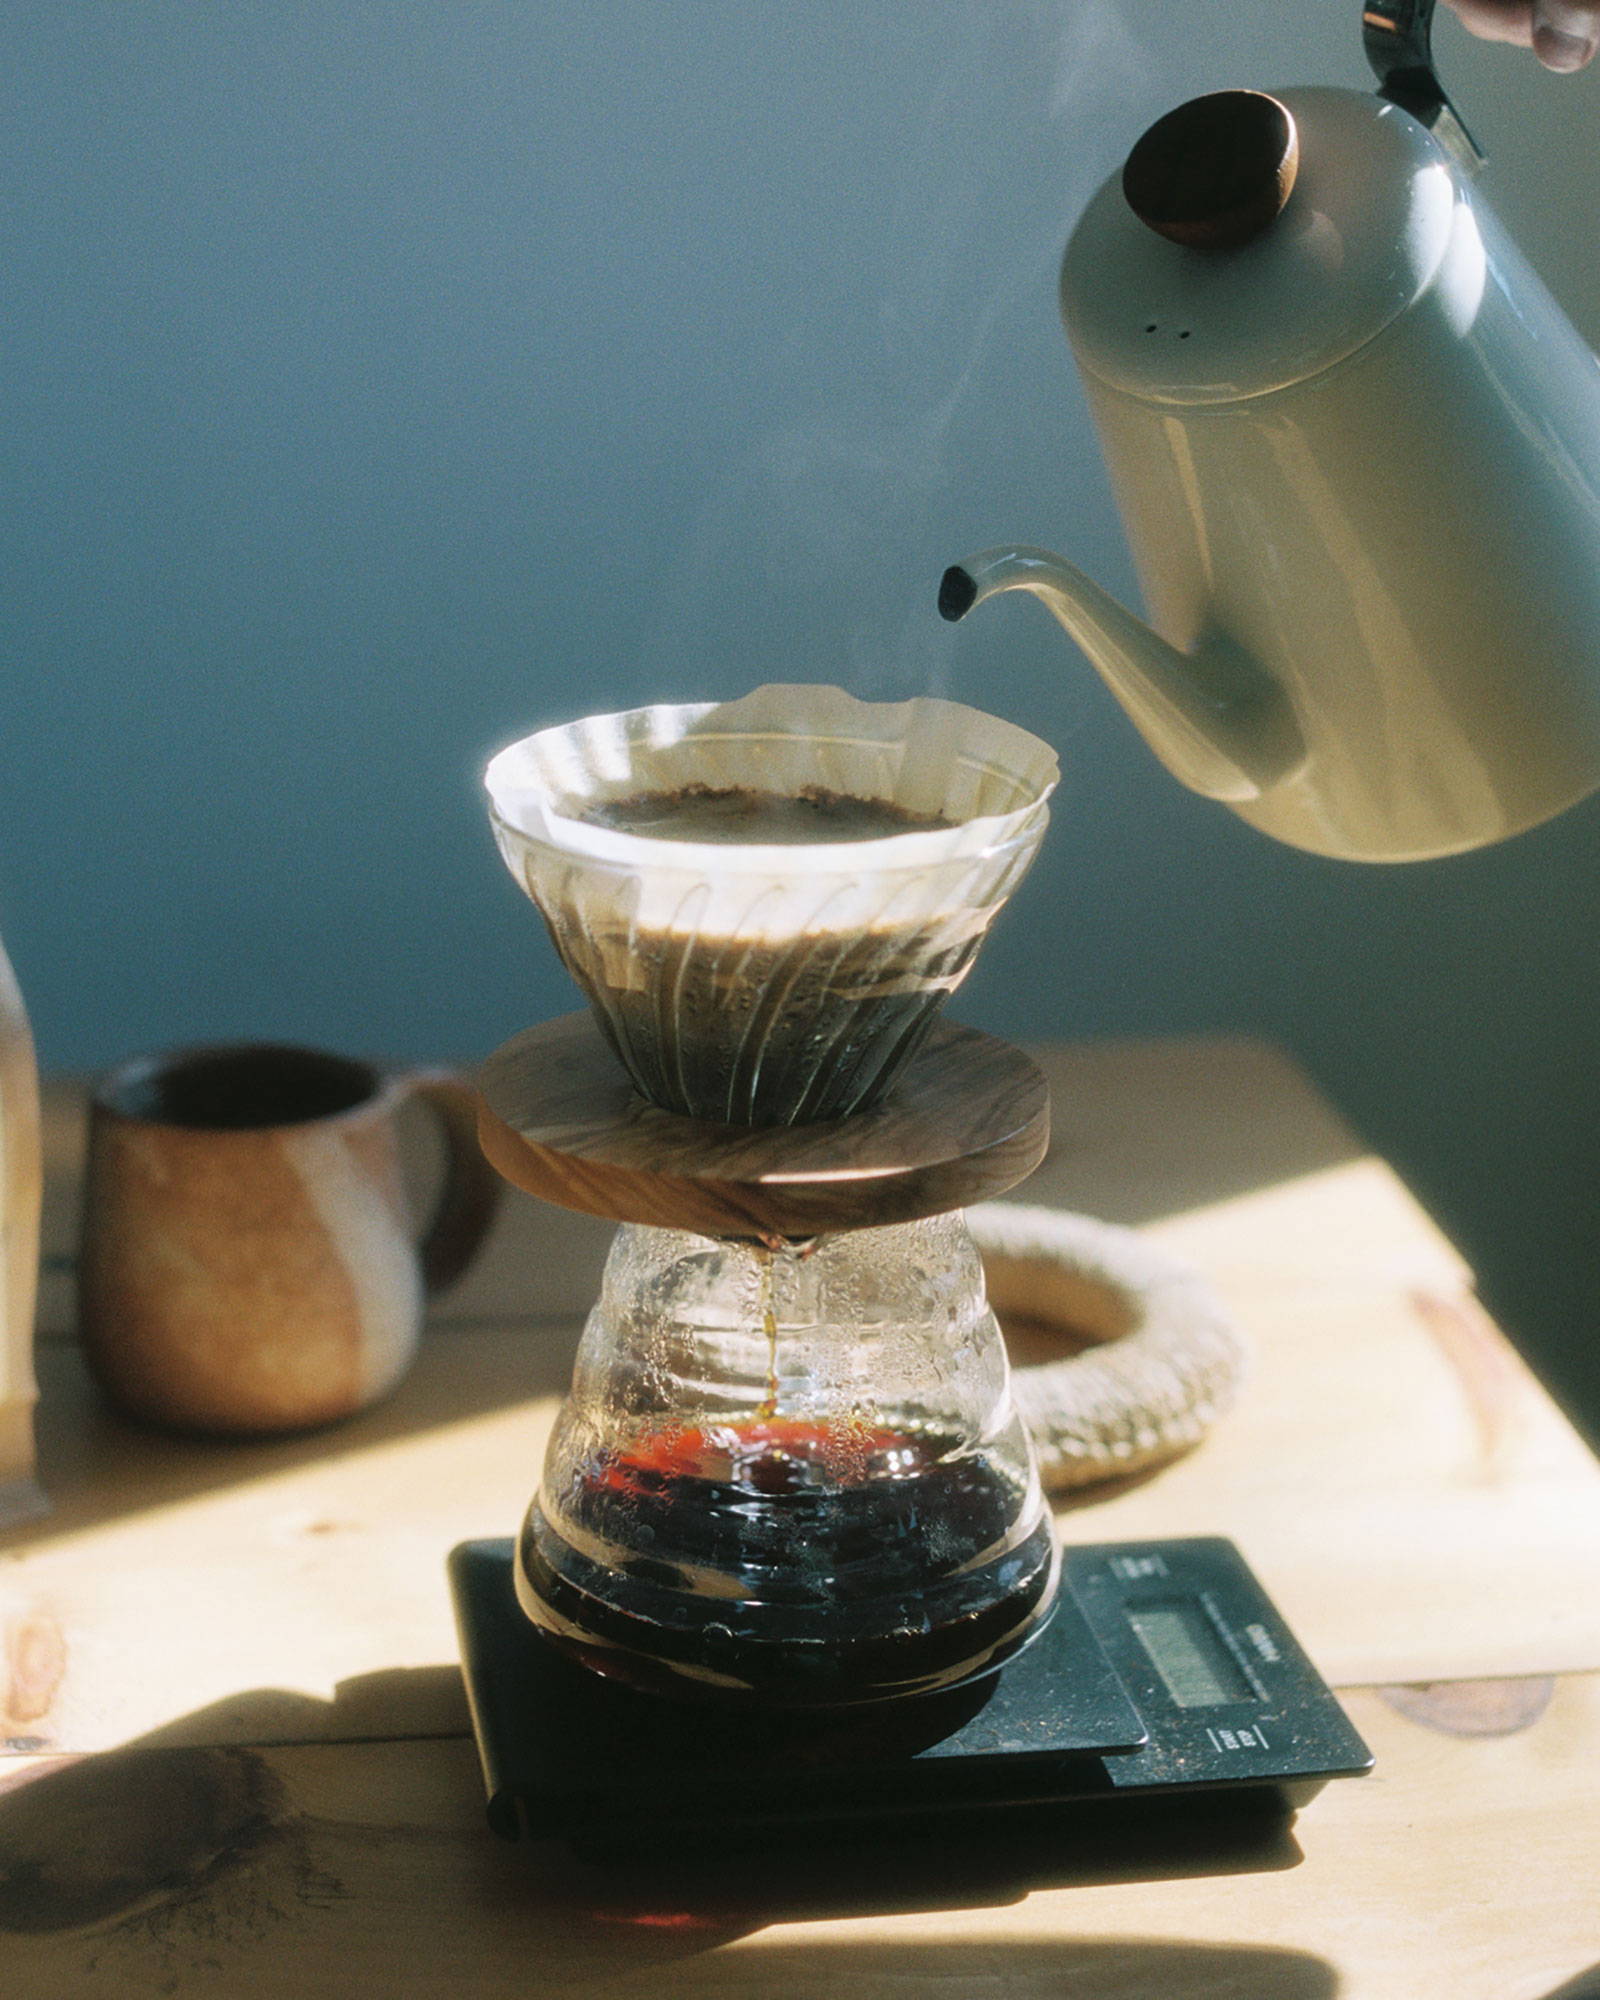
Now that you understand taring, here is a step-by-step for using a scale to make great coffee. Let's use the example of MAKING A POUR OVER WITH A V60.


Weigh beans: you can weigh your beans before or after grinding.


BEFORE GRINDING: turn on your scale, and tare out an empty cup or glass. Scoop or pour 20 grams of whole bean coffee into your cup, then grind.


AFTER GRINDING: after pre-wetting your V60 and filter and disposing the hot water, tare out the whole V60. Pour your ground coffee into the filter. Note the amount of coffee.


Calculate ratio: For the V60, our starting water-to-coffee ratio is 15-to-1. This means that to calculate how much water you pour over your coffee, multiply the amount of coffee you put in by 15. So, if you put in 20 grams of coffee, you'd want to pour in 300 grams of water. 


Start timer: The timer function is super basic on the Hario drip scale. Just tap it to begin counting up (this feature also makes it perfect for timing out your french press!).


Tare, then pour: Making sure your coffee server and fresh-ground coffee are tared out at zero, begin pouring to bloom your coffee. Some people advocate pouring twice the weight of your coffee for the bloom (so, if you used 20 grams of coffee, 40 grams of water for bloom). We just advocate getting all the grounds wet.

Let coffee sit for 30 seconds to bloom.


Fill: After blooming, slowly pour water over your grounds until you have reached the desired amount of water (300 grams, if you started with 20 grams of coffee in!)


Those are the basics! With a scale, you're free to try out different coffee-to-water ratios for different methods with precision, and take accurate notes on what works best for the given coffee you are using. 


Have fun!


{"statementLink":"","footerHtml":"","hideMobile":false,"hideTrigger":false,"disableBgProcess":false,"language":"en","position":"left","leadColor":"#000000","triggerColor":"#000000","triggerRadius":"50%","triggerPositionX":"left","triggerPositionY":"bottom","triggerIcon":"people","triggerSize":"small","triggerOffsetX":20,"triggerOffsetY":20,"mobile":{"triggerSize":"small","triggerPositionX":"right","triggerPositionY":"bottom","triggerOffsetX":10,"triggerOffsetY":10,"triggerRadius":"50%"}}